Stable diffusion is an exciting field in GenAI for generating all sorts of images, videos, but also to enhance your own picture. There are many many flavours of stable diffusion models (fine-tuned for a specific tasks, or one specific training images) and versions (v1, v2, XL, etc.). For this tutorial I will be using Segmind Stable Diffusion (SSD), a 50% smaller and faster stable diffusion that generates pics as good as the OG stable diffusion from Stability AI. Aditionally, I will use the HuggingFace implementation of SSD in a Python Notebook on Google Colab and prompt the SSD model plus display the generated the images in Gradio. Here is the link to Colab Notebook code.
Part 1: Understanding Stable Diffusion - a very high-level short introduction
1.1 What is Stable Diffusion?
Diffusion refers to the process in which particles or information gradually disperses in a medium while maintaining a steady state. A stable state is achieved when the rate of diffusion is uniform and consistent, preventing the formation of imbalances or irregularities. In the context of machine learning, diffusion models are inspired by non-equilibrium thermodynamics in evenly distributing data points, defining a Markov chain of diffusion steps to slowly add random noise to data, and then training a neural network to reverse the diffusion process to generate new data samples by progressively removing the noise. There are many tutorials, blogs, and papers out there and I recommended the following as a starting point: Weng, Lilian. (Jul 2021). What are diffusion models? Lil’Log., DeepLearning.AI courses, HuggingFace documentation or an illustrated explanation The Illustrated Stable Diffusion.
1.2 Many versions of stable diffusion there are
Stable Diffusion, a state-of-the-art deep learning text-to-image model, was released in 2022. It employs diffusion techniques to generate detailed images based on text descriptions and can perform tasks like inpainting, outpainting, and image-to-image translations. Developed by the CompVis Group at Ludwig Maximilian University of Munich and Runway, it received support from Stability AI and training data from non-profit organizations. This model is notable for its public release of code and model weights, allowing it to run on consumer hardware with a modest GPU (which is also what we are going to do in this tutorial, using the Google Colab free tier). This approach contrasts with proprietary paid models like DALL-E and Midjourney.
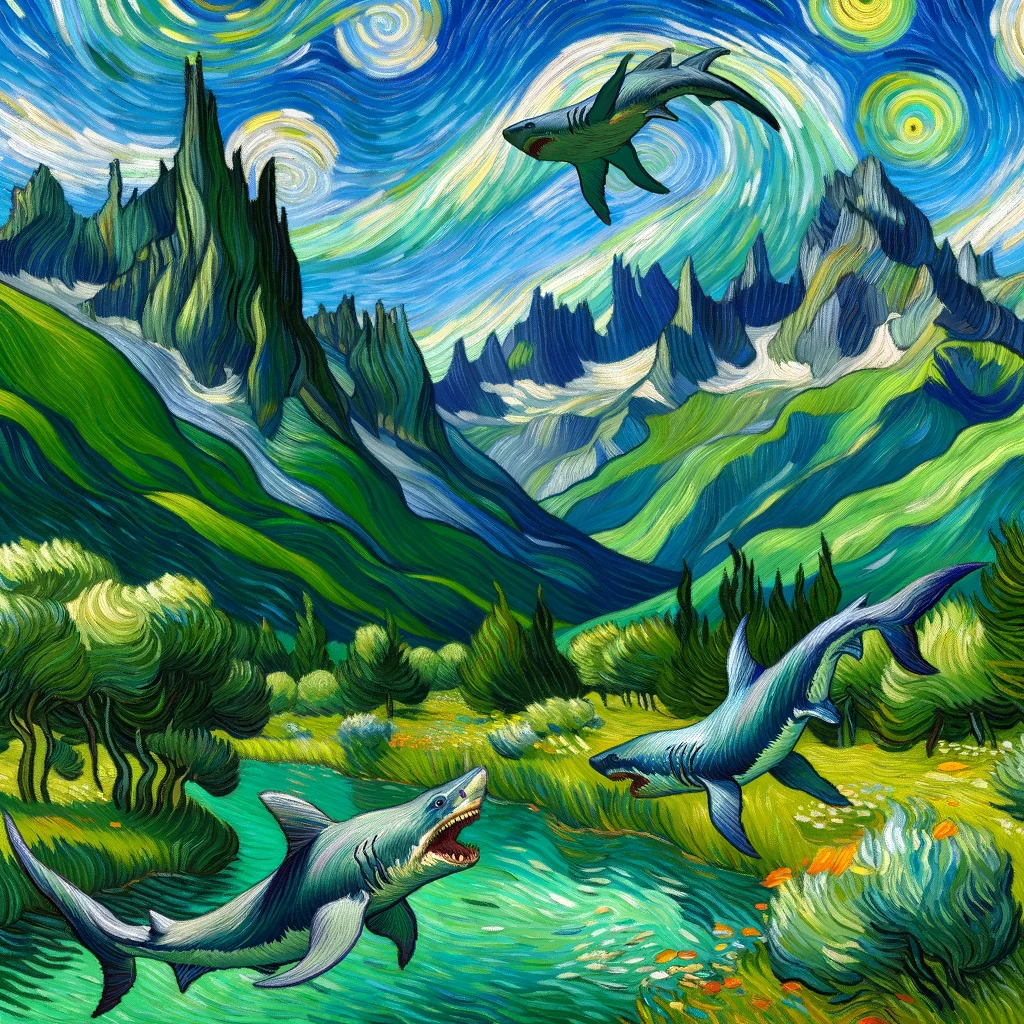
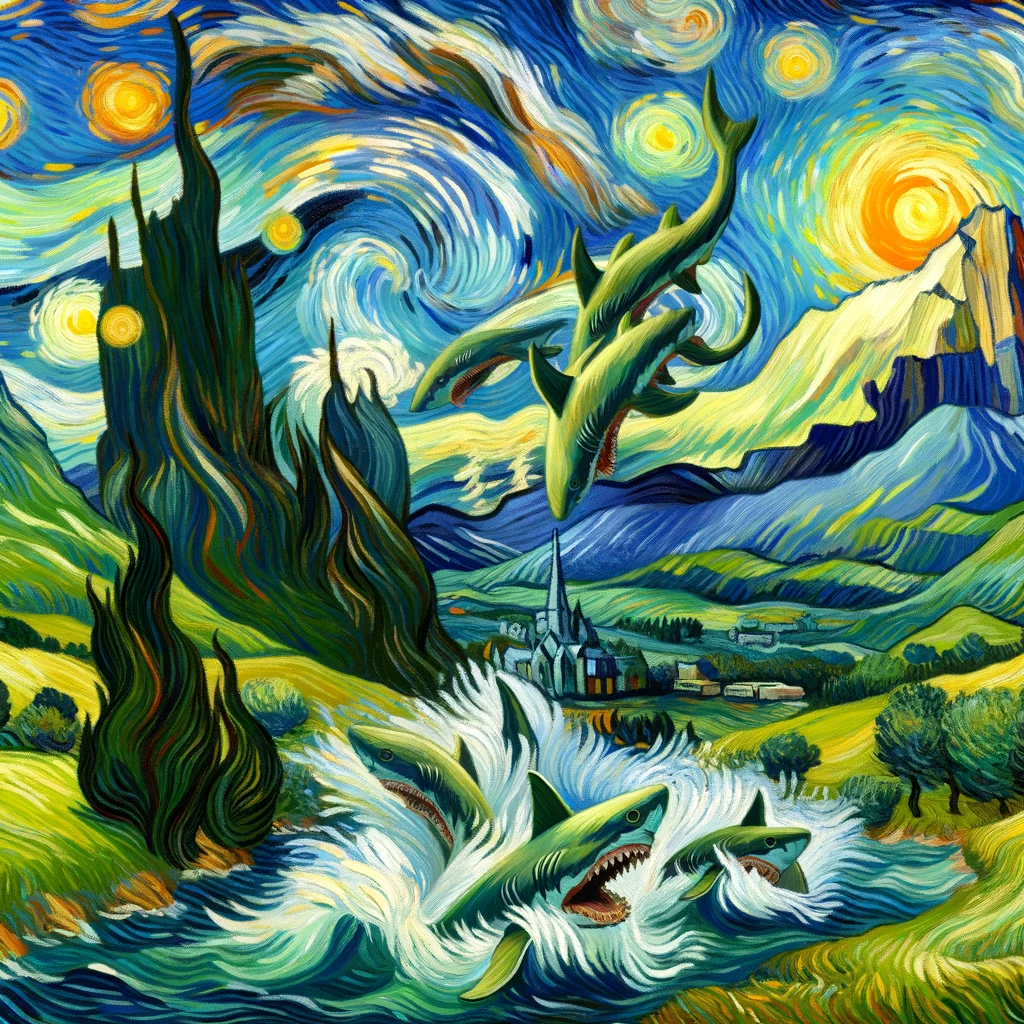
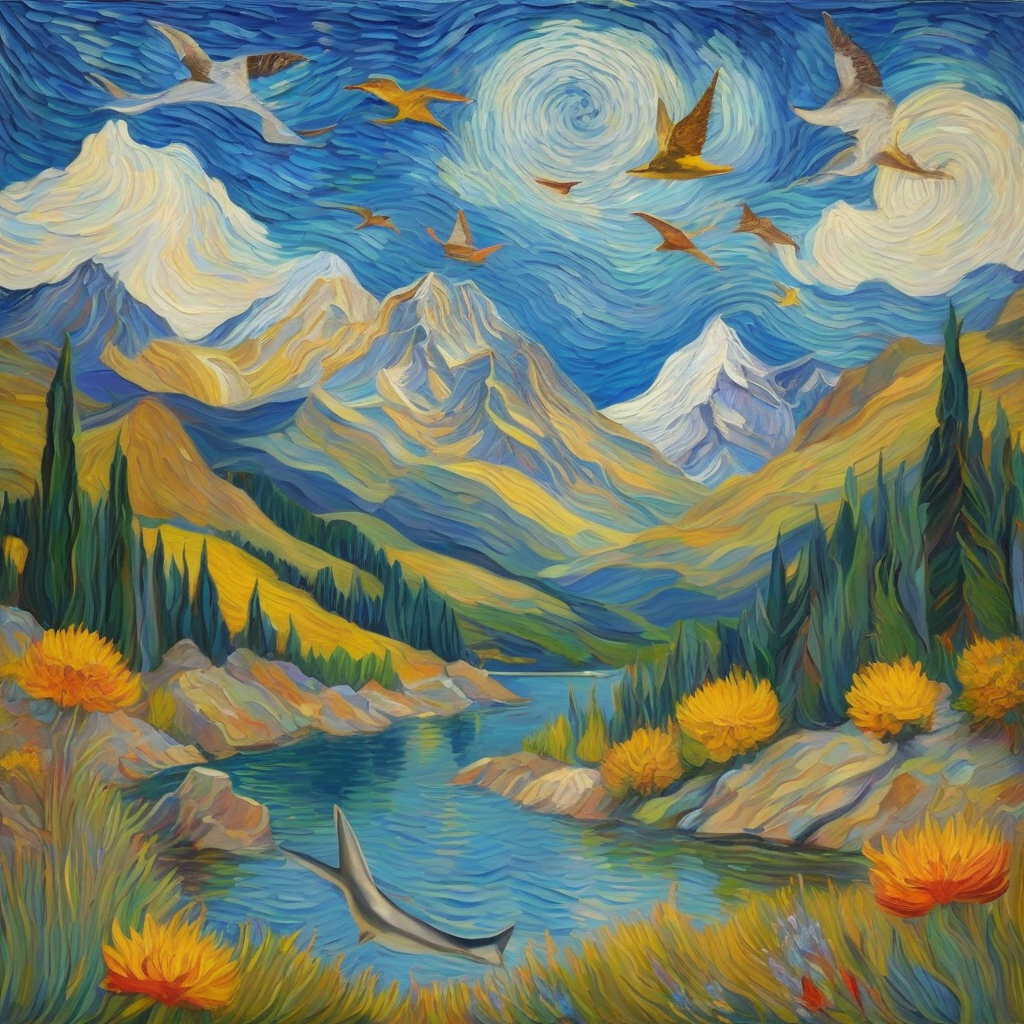
I tried DALL-E with the same prompt I used with SSD the results are quite different, but I wouldn’t say they are worse or better. SSD stayed closer to the prompt, the objects had normal proportions relative to their envinroment, and abided by the laws of physics (i.e., no sharks flying in the sky like in DALL-E). The prompt I used was A mountain landscape in summer, depicted in the style of Vincent van Gogh, with bold, swirling brushstrokes and vibrant colors. The mountains are lush. Here the pictures from DALL-E:
1.3 How to use Stable Diffusion model on your computer
To use Stable Diffusion models, one can download the weights and run it on their computer (if you have GPU), or use web services like Clipdrop or DreamStudio. Addtionally, one can use one of the many version of stable diffusion deployed on Hugging Face or use a WebUI software like Automatic1111 or ComfyUI.
1.4 Segmind Distilled Stable Diffusion (SSD) - Stable Diffusion Lite
A distilled version of Stable Diffusion is a smaller, more compact rendition of a large model with reduced computational burden. Stable Diffusion inference can be a computationally intensive process because it must iteratively denoise the latents to generate an image. These distilled models achieve image quality comparable to the full-sized Stable Diffusion model, but with notable improvements in terms of speed and resource efficiency.
The “distillation” part uses the predictions of a large model to train a smaller model, step by step. The large model is initially trained on extensive dataset, whereas a smaller model undergoes training on a more modest dataset, with the goal of replicating the outputs of the larger model. You can read more on the SSD Github Page or on Hugging Face about Distilled Stable Diffusion.
Advantages
- Up to 100% faster inference time
- Up to 30% Lower VRAM footprint
- Faster Dreambooth and LoRA Training for fine-tuning tasks
Limitations
- The outputs may not yet meet high quality and accuracy standards (which I can also confirm after playing with Stability Diffusion XL from Stability-AI)
- Distilled models are not very good at composibility or multiconcepts yet
- Still in early phase of research, and probably not the best general models
The code
Below you can see how I imported and ran SSD from HuggingFace. It’s pretty straightforward.
from diffusers import StableDiffusionXLPipeline
import torch
pipe = StableDiffusionXLPipeline.from_pretrained("segmind/SSD-1B", torch_dtype=torch.float16, use_safetensors=True, variant="fp16")
pipe.to("cuda")
prompt = "An astronaut riding a green horse" # Your prompt here
neg_prompt = "ugly, blurry, poor quality, duplicates, missing limbs" # Negative prompt here
image = pipe(prompt=prompt, negative_prompt=neg_prompt).images[0]
Part 2: Gradio Interface for Stable Diffusion
Gradio is an open-source framework that allows users to create customizable user interfaces for machine learning models. In this section, we will discuss how to customize Gradio to visualize the outputs of stable diffusion. I personally don’t like how the standard gradio interface looks like. Maybe orange is not my color? So I set out to modify the theme color, fonts and add some text and pics using HTML and CSS.
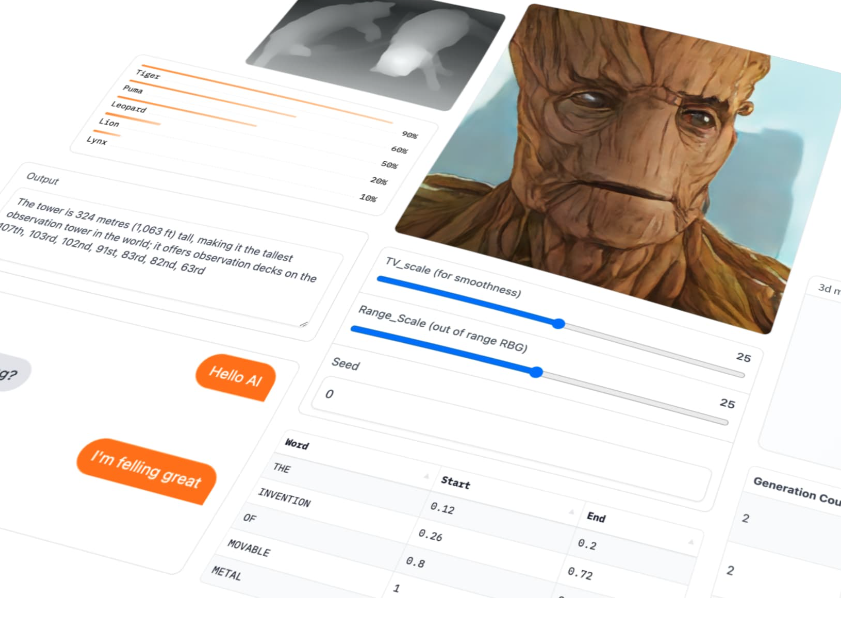
DeepLearning.AI offers a great short free course on Gradio which I highly recommend if you have time.
2.1 Installing Gradio and getting the hang of it
Gradio continously updates their app so be careful what version you use. While writing this code they just updated to the version 4.2.0 and my code broke :). Take a look at the latest changes and if they are breaking ones in their CHANGELOG.
The tricky part was working with HTML and CSS to add my own custom changes. I fiddled a lot with the right changes and for the life of me I couldn’t get the color of the background text to change to white.
Besides their standard orange theme, Gradio offers a few other in-built themes in different colors and different fonts. However, I found the options quite limited. The good part is that you can directly test into the Gradio any changes you make to a theme and see how it looks like.
Many creative people built their own themes, ranging from anime girls to the popular “Dracula” theme, and deployed these on Hugging Face Spaces. I selected the “JohnSmith9982/small_and_pretty” theme because the green colors went well with my background picture which I added using a small custom CSS code background: url('file=/content/drive/My Drive/gradient.jpg');. Both the theme and CSS code can be directly passed togradio.Blocks(). Gradio’s Blocks API serves as a low-level interface for crafting highly customizable web applications and demos entirely in Python. It surpasses the Interface class from Gradio in flexibility, offering control over component layout, event triggers for function execution, and data flows between inputs and outputs. Blocks also supports the grouping of related demos, such as through tabs.
Basic Usage
- Create a Blocks object.
- Use it as a context with the
withstatement. - Define layouts, components, or events within the Blocks context.
- Finally, call the
launch()method to initiate the demo.
Here is the code snippet that achieves that:
!pip install gradio
theme='JohnSmith9982/small_and_pretty'
css_code = """
.gradio-container {
    background: url('file=/content/drive/My Drive/gradient.jpg');
    background-repeat: no-repeat;
    background-attachment: fixed;
    background-size: cover;
    color: white !important; /* Set text color to white */
}
footer {
    display: none !important;
}
"""

with gr.Blocks(theme=theme, css=css_code) as demo:
      ....
And here how is the resulting theme looks like:
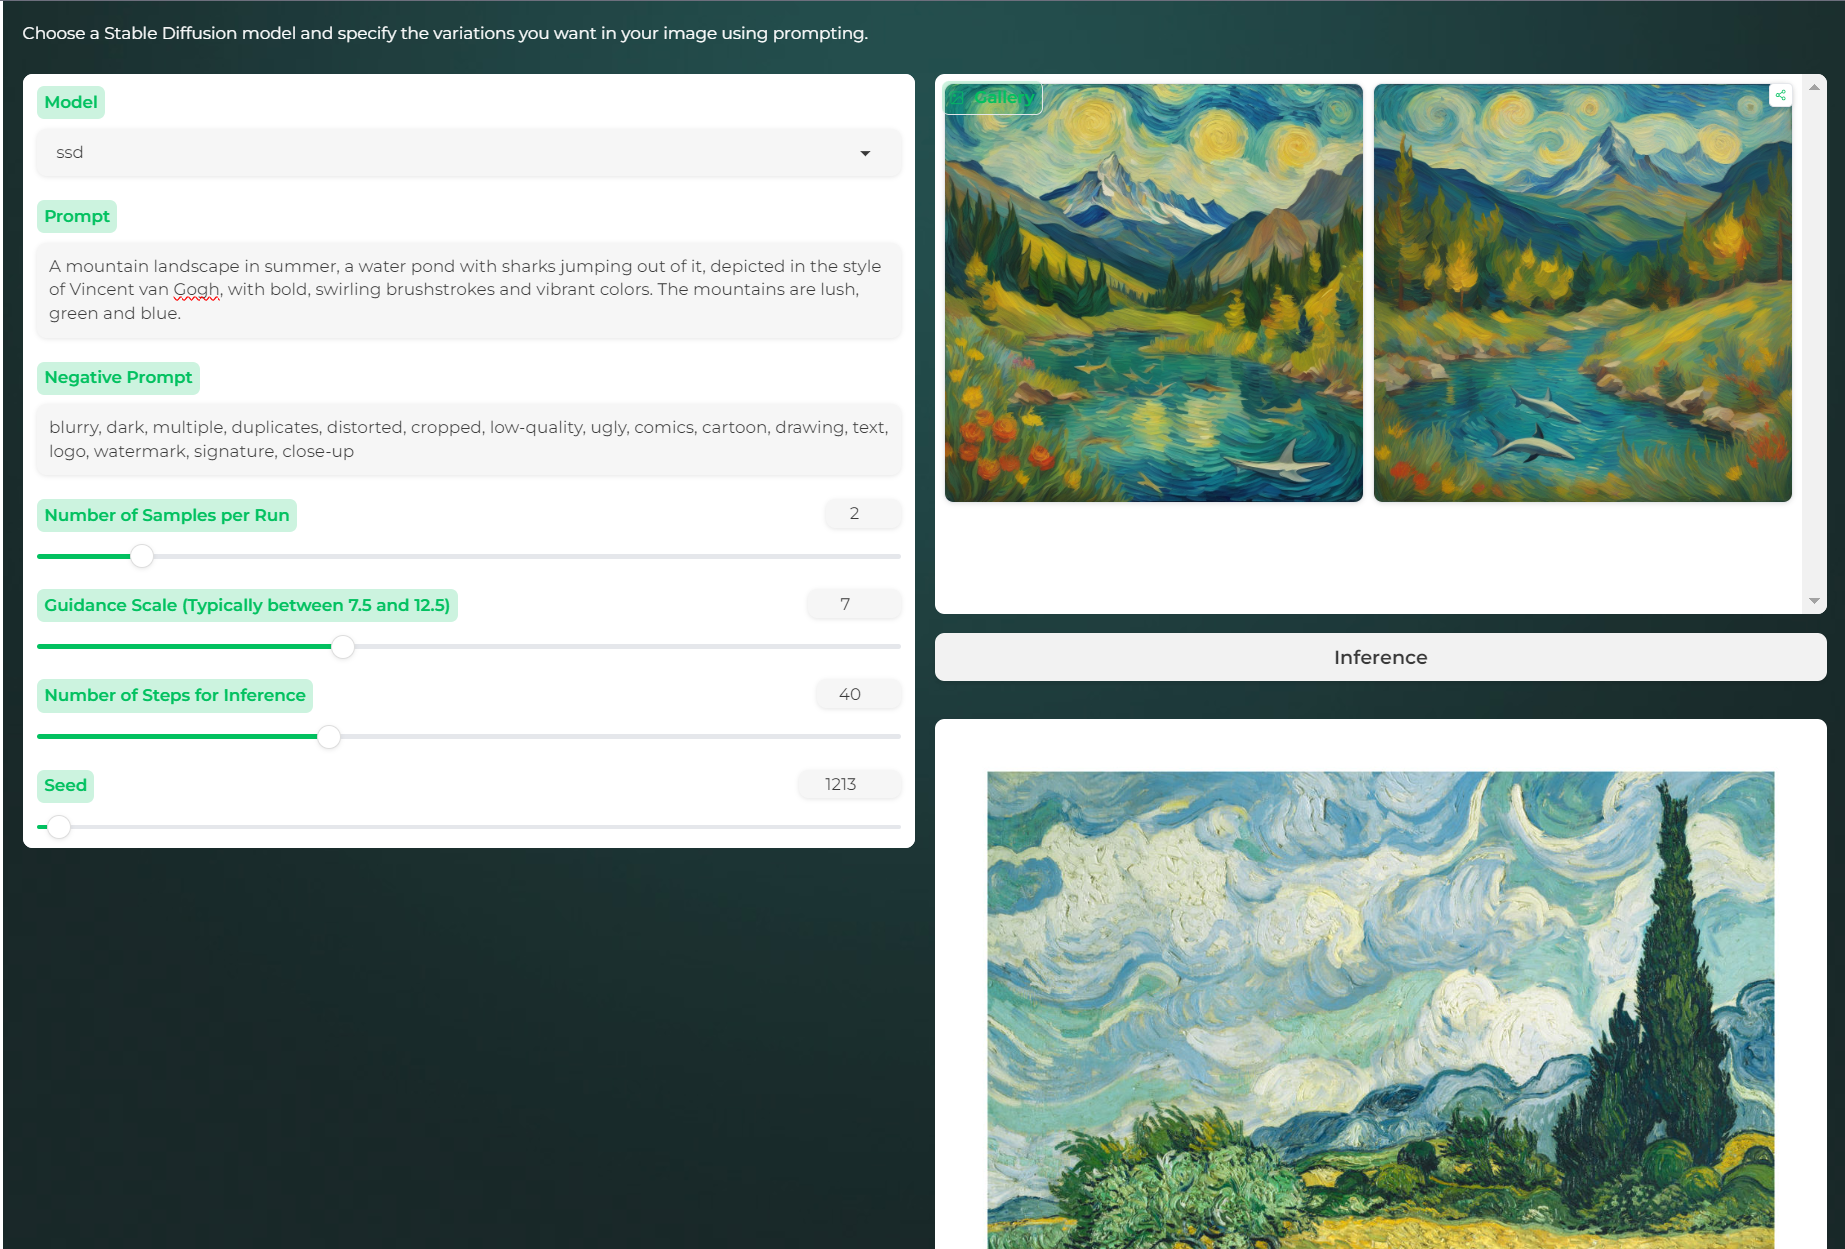
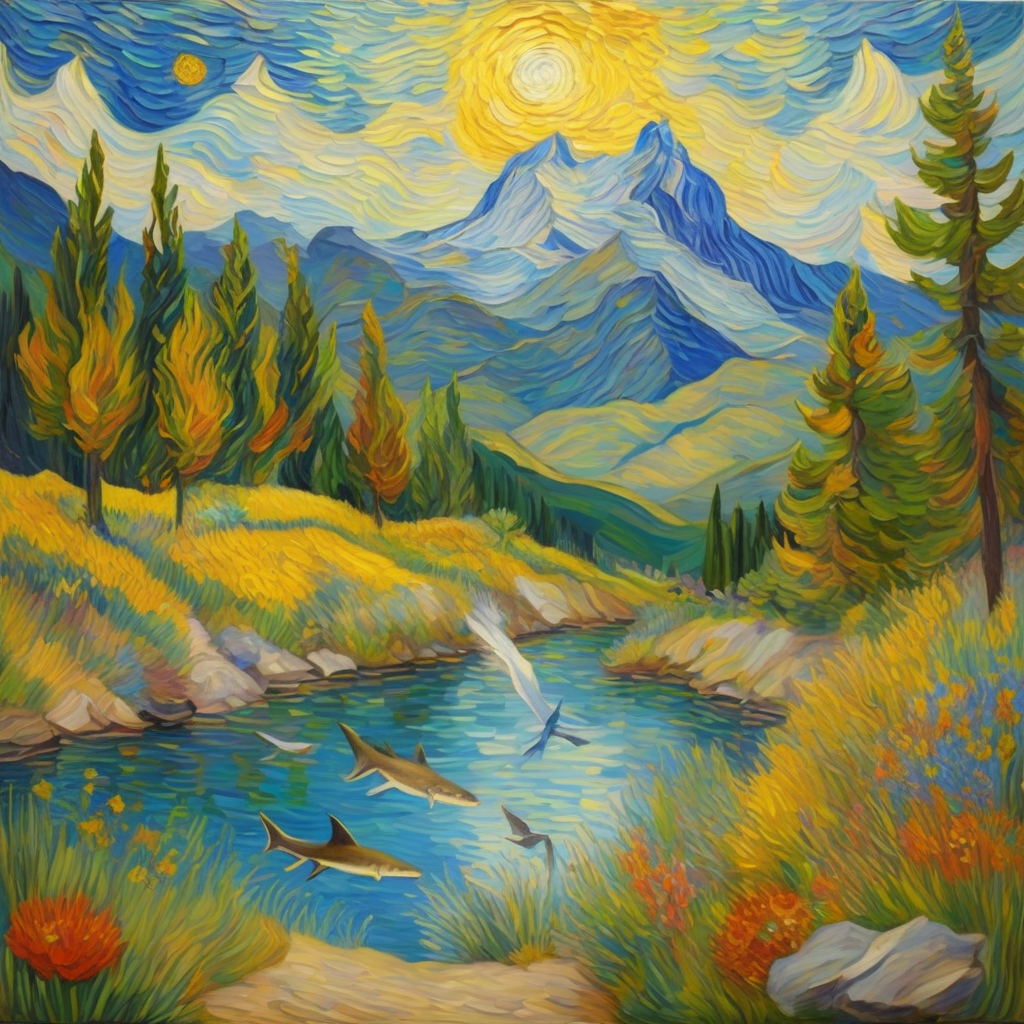
Besides generating funny pictures of cats (like you can see in the thumbnail), you can generate more artistic pictures, in Van Gogh Style for example.
Let’s discuss now the parameters you can see exposed in the Gradio UI. But first the Python code:
with gr.Blocks(theme=theme, css=css_code) as demo:
        with gr.Row():
            markdown = gr.Markdown('<span style="color: white;">Choose a Stable Diffusion model and specify the variations you want in your image using prompting.</span>')
        with gr.Row():
            with gr.Column(scale=1):
                model = gr.Dropdown(["ssd", "fine-tuning"], label='Model', value="ssd", interactive=True, elem_id="dropdown")
                prompt = gr.Textbox(label = 'Prompt', value = "A mountain landscape in summer, depicted in the style of Vincent van Gogh, with bold, swirling brushstrokes and vibrant colors. The mountains are lush.",
                                    placeholder="Describe what you want to generate")
                neg_prompt = gr.Textbox(label = 'Negative Prompt', value="blurry, dark, multiple, duplicates, distorted, cropped, low-quality, ugly, comics, cartoon, drawing, text, logo, watermark, signature, close-up",
                                      placeholder="Unwanted in the generated image")
                num_images = gr.Slider(minimum=1, maximum=10, value=2, step=1, label='Number of Samples per Run', interactive=True)
                guidance = gr.Slider(minimum=0, maximum=20, value=7, step=0.5,
                                            label='Guidance Scale (Typically between 7.5 and 12.5)', interactive=True)
                steps = gr.Slider(minimum=10, maximum=100, value=40, step=10,
                                            label='Number of Steps for Inference', interactive=True)
                seed = gr.Slider(minimum=1, maximum=99999, value=1, step=1,
                                            label='Seed', interactive=True)
            with gr.Column(scale=1):
                output = gr.Gallery(show_share_button = True)
                btn1 = gr.Button(value="Inference")
                with gr.Column(scale=1):
                      None
                with gr.Row():
                    with gr.Column(scale=1):
                      my_gogh = gr.Image("/content/drive/My Drive/vangogh.jpg", label=None, show_label=False, elem_id="output_image",
                            show_download_button=False, container=False, scale=0.5)
                      gr.HTML("""<div id='output_image' style='display:block; margin-left: auto; margin-right: auto;
                      align-items: center; justify-content: center;'></div>""")
        btn1.click(inference, inputs=[model, prompt, neg_prompt, guidance, steps, seed, num_images], outputs=output)

demo.queue()
demo.launch(allowed_paths=["."],  debug=True, share=True, max_threads = 40)
The UI layout is organized using rows (horizontal display) and columns (vertical display), whereas text is shownusing Markdown or Textbox elements. Textbox elements createCreates a textarea for user to enter string input or display string output and have additional elements, such as label, placeholder and value which come in handy when you want to have user guidance or lack ideas for a prompt. Now let’s discuss what each of these parameters achieve.
- prompt: A text input given by the user to guide the image generation process in a Stable Diffusion model.
- neg_prompt: Refers to a negative prompt, which is a text input specifying what elements or characteristics should be avoided in the generated image.
- num_images: The number of images to be generated per run. It allows the user to specify how many different outputs they want from a single execution of the model.
- guidance: This term relates to the guidance scale used in the model. It adjusts the influence of the prompt on the generation process, with higher values leading to more adherence to the prompt.
- steps: The number of steps or iterations the model goes through during the image generation process. More steps can lead to more detailed and refined images.
- seed: A numeric value that initializes the random number generator used in the image generation process. It ensures reproducibility, where the same seed will generate the same image for a given prompt.
The Gallery is used to display a list of images as a gallery that can be scrolled through and can only be used to show an ouput like a list of images in the following formats: numpy.array, PIL.Image, str or pathlib.Path, or a List(image, str caption) tuples . We use this item to show the images generated with Stable Diffusion. Next, Gradio HTML is used to display arbitrary HTML output, such as images, footers, div containers, etc. In my case, I displayed a painting of Van Gogh, in case the user is not familiar with his style.
Last, but not least, I used the Gradio Button option to create a button, that can be assigned arbitrary click() events. An event listener is associated with the button which calls a function that is usually a machine learning model’s prediction function. Each parameter of the function corresponds to one input component, and the function should return a single value or a tuple of values, with each element in the tuple corresponding to one output component. In this instance I am calling the inference function that looks like this:
def inference(model, prompt, neg_prompt, guidance, steps, user_seed, num_images):
  if num_images > 1:
      # Generate a random seed for each image
      seed = random.randint(0, 9999)
  else:
        seed = user_seed

  generator = torch.Generator(device="cuda")
  generator.manual_seed(seed)

  images = []
  for i in range(num_images):
      with torch.no_grad():
            images += pipe(prompt=prompt, negative_prompt=neg_prompt,  generator=generator, num_inference_steps=int(steps), guidance_scale=guidance, num_images_per_prompt=1).images
  return images
The last 2 parts of the Gradio block demo.queue() and demo.launch() are needed in order to generate more than 1 picture and display it.Queue has a few additional parameters you can pass to it, but I have to admit that I didn’t understand from the Gradio official website how exactly they work. Also the definition of the queue is a bit cryptic (in my opinion) and the only reason I came across it it’s because I wanted to generated more than 1 picture per inference. Fortunately, I came across this detailed article that explains all about the magic of the queue : Setting Up a Demo for Maximum Performance. By default, a Gradio Interface or Block does not use queueing and instead sends prediction requests via a POST request to the server where your Gradio server and Python code are running. But POST requests are kinda of old-fashioned and limited. To address these hurdles, a Gradio app can be converted to use websockets instead, simply by adding .queue(). Unlike POST requests, websockets do not timeout and they allow bidirectional traffic. On the Gradio server, a queue is set up, which adds each request that comes to a list. There are several parameters that can be used to configure the queue and help reduce latency (concurrency_limit, max_threads, max_size, max_batch_size). I suggest to always read the latest release notes of Gradio as they tend to change these (or their namings) quite frequently.
That was all for this tutorial with SSD and Gradio. Next we will look into fine-tuning Stable Diffusion with our own custom images.