To be honest, I was never interested in trying Midjourney - sure you can create cool pics, but what could I use them for? After all, I live in a small apartment, and our walls are already full of photos of cats and paintings that we received as gifts or thrifted.
That’s until I had to teach people with no AI or tech experience to use Midjourney in a useful way (that could potentially generate payable skills). Now after using it for quite time I have to honestly tell you that I have major doubts about those clickbaity titles from Youtube or Instagram creators that claim you can become a millionaire overnight with MJ design (can I call it MJ and not Midjourney? Or am I infringing some Spiderman copywright?). That being said: I still learnt a lot of handy tricks for dealing with Midjourney and controlling the output based on the requirements I had. Before we start, I recommend you check the official list of Midjourney parameters and try them all out to better understand how Midjourney works with its prompts.
Midjourney camera settings for realistic photos
I find that Midjourney is incredibly good at generating realistic photos. I seriously cannot tell the difference. Especially when all the settings of a professional camera are specified you can get mind-blowing results (National Geographic here I come!). To get a realistic looking photo I suggest always using the option Raw. You can permanently turn this on in \settings. Another tip is to start your prompt like this \prompt: a realistic photograph of.... I also had succesful results adjusting the stylizeparameter, usually to higher values.
Here are some of type of cameras and lenses you can use:
- Canon EOS-1D X Mark III: Flagship DSLR with exceptional speed, image quality, and durability. Canon EF 24-70mm f/2.8L II USM Lenses
- Nikon D6: Nikon’s top-tier DSLR offering advanced autofocus and performance. E.g. Nikon AF-S NIKKOR 70-200mm f/2.8E FL ED VR
- Sony A1: Mirrorless powerhouse with high-speed shooting and 8K video capabilities. E.g. Sony FE 16-35mm f/2.8 GM: Fujifilm GF 110mm f/2 R LM WR
- Fujifilm GFX 100: Medium format camera with 102MP sensor for ultra-high resolution images.
- Leica M10-R: Iconic rangefinder camera. E.g. Leica APO-Summicron-M 50mm f/2 ASPH
You can also choose the depth of field (which I believe makes the most difference in the final output):
- f/1.4: Large aperture for low-light situations and shallow depth of field.
- f/2.8: Common aperture for fast lenses, providing good lowlight performance and subject isolation.
- f/5.6: Mid-range aperture for sharp images, balancing depth of field and light-gathering capabilities.
- f/8: Often considered the sweet spot for many lenses, delivering sharp images and increased depth of field.
- f/16: Small aperture for deep depth of field, ideal for landscapes and group shots.
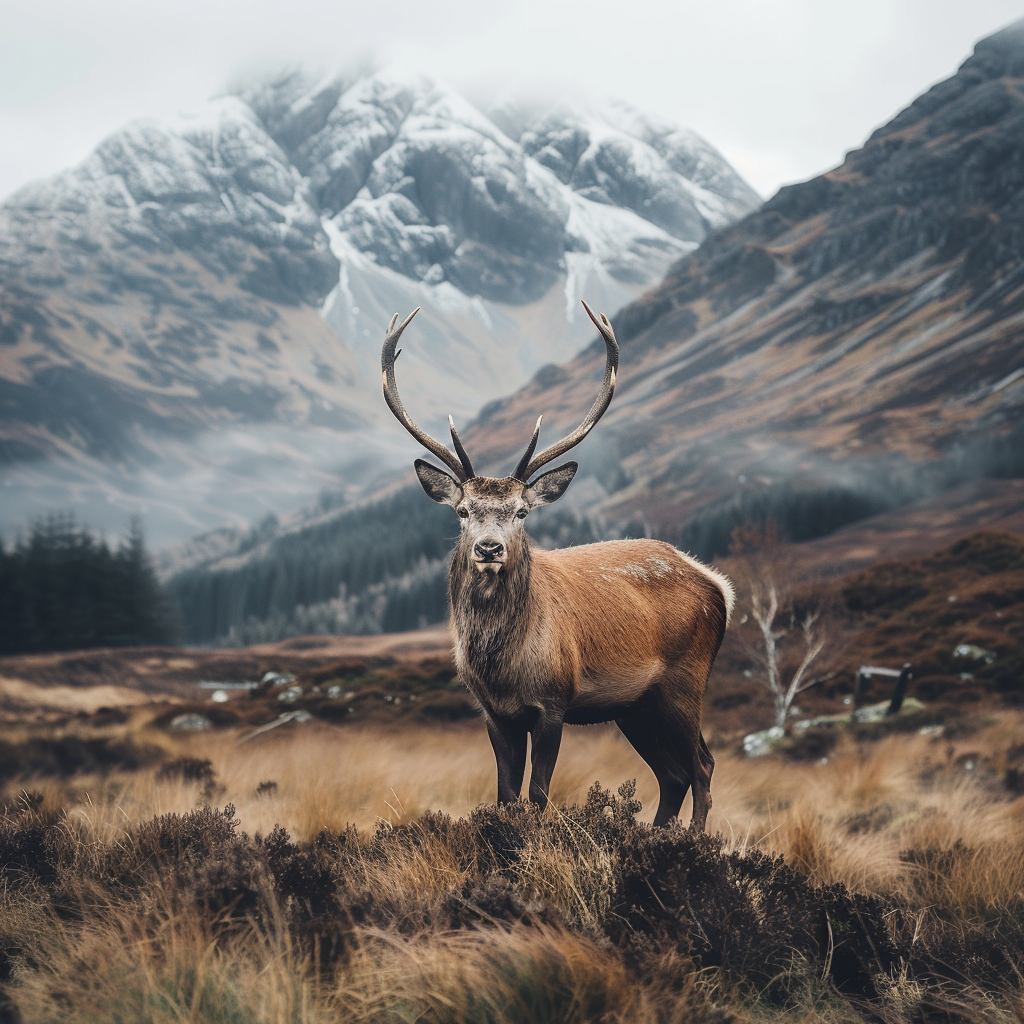
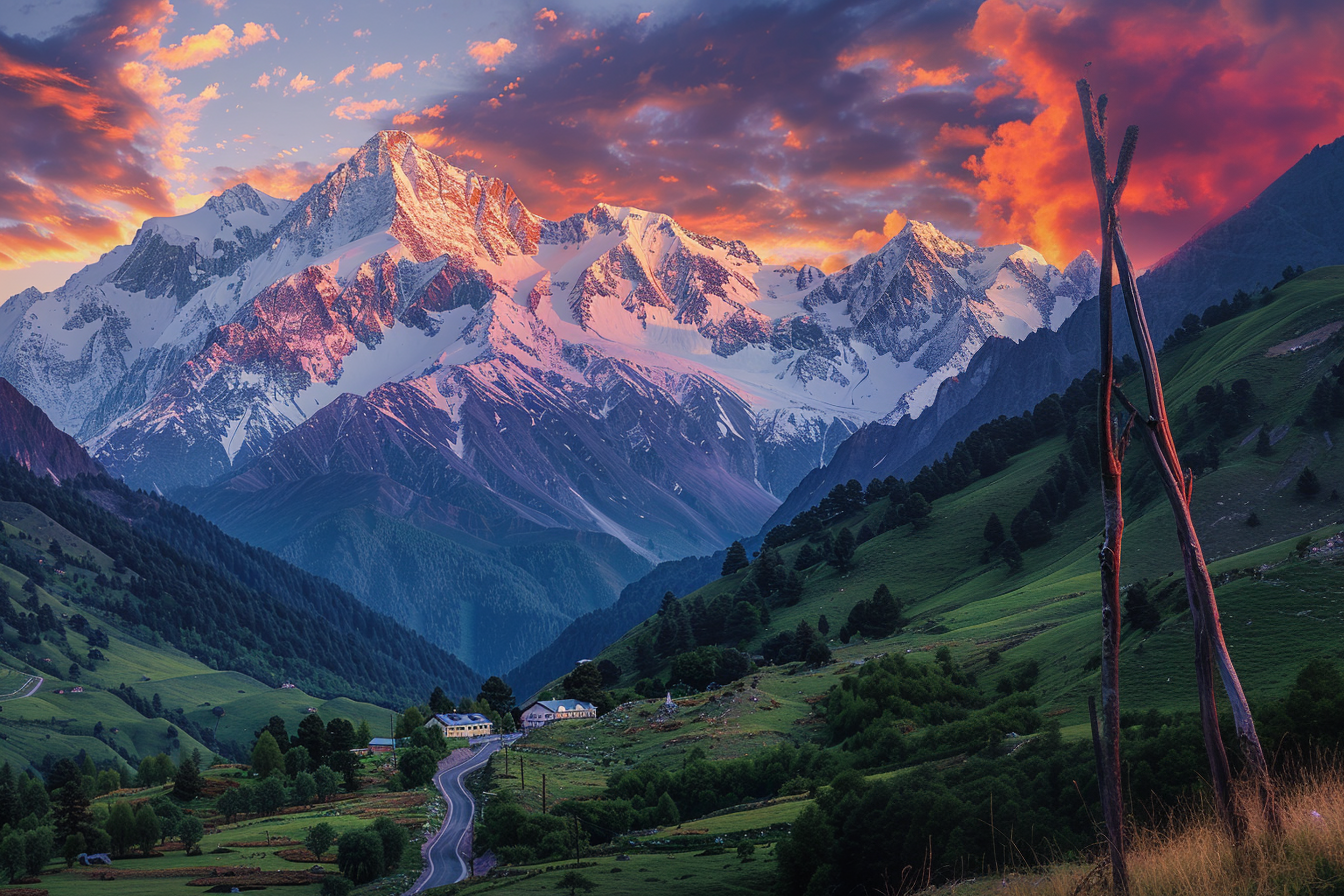
Here some images I generated using the following prompt \prompt a photograph of a majestic deer in the mountain wilderness in Scotland, etc, camera, aperture, lenses with various camera settings:
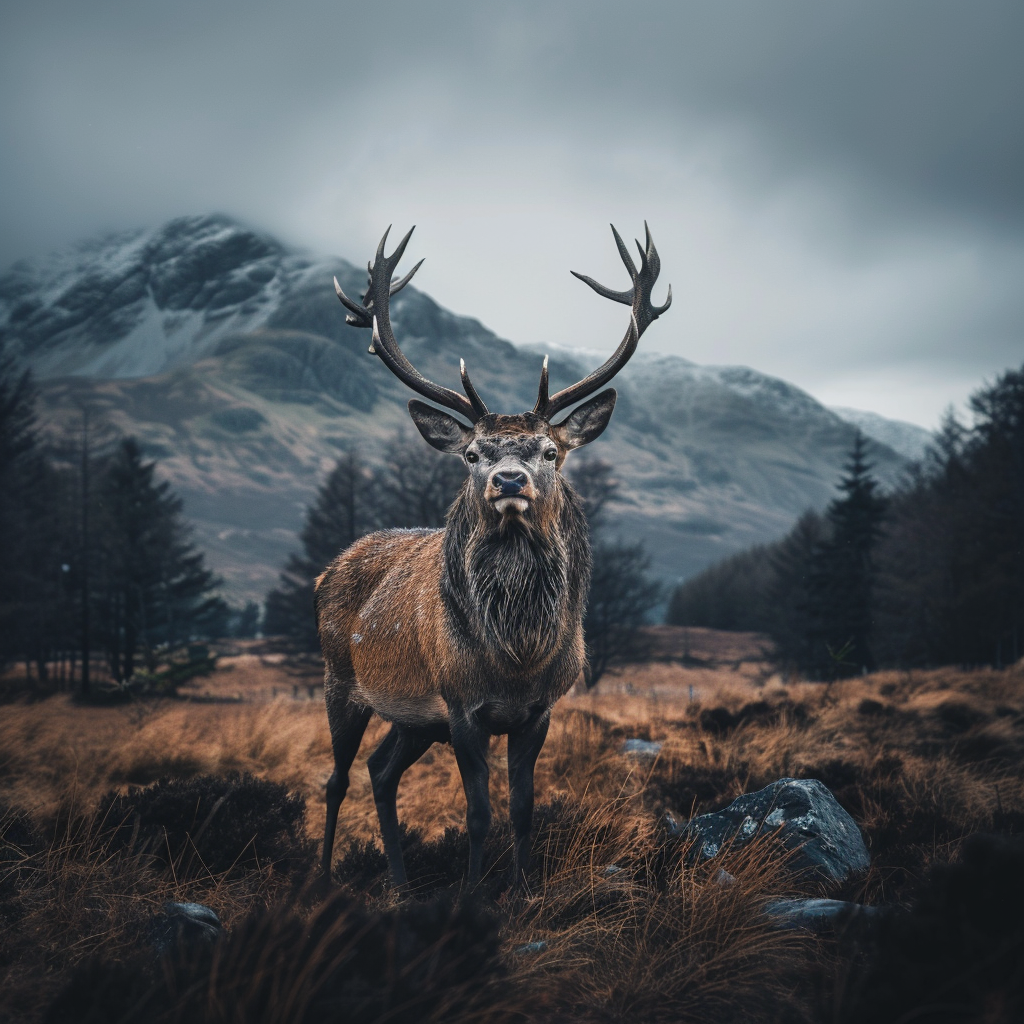
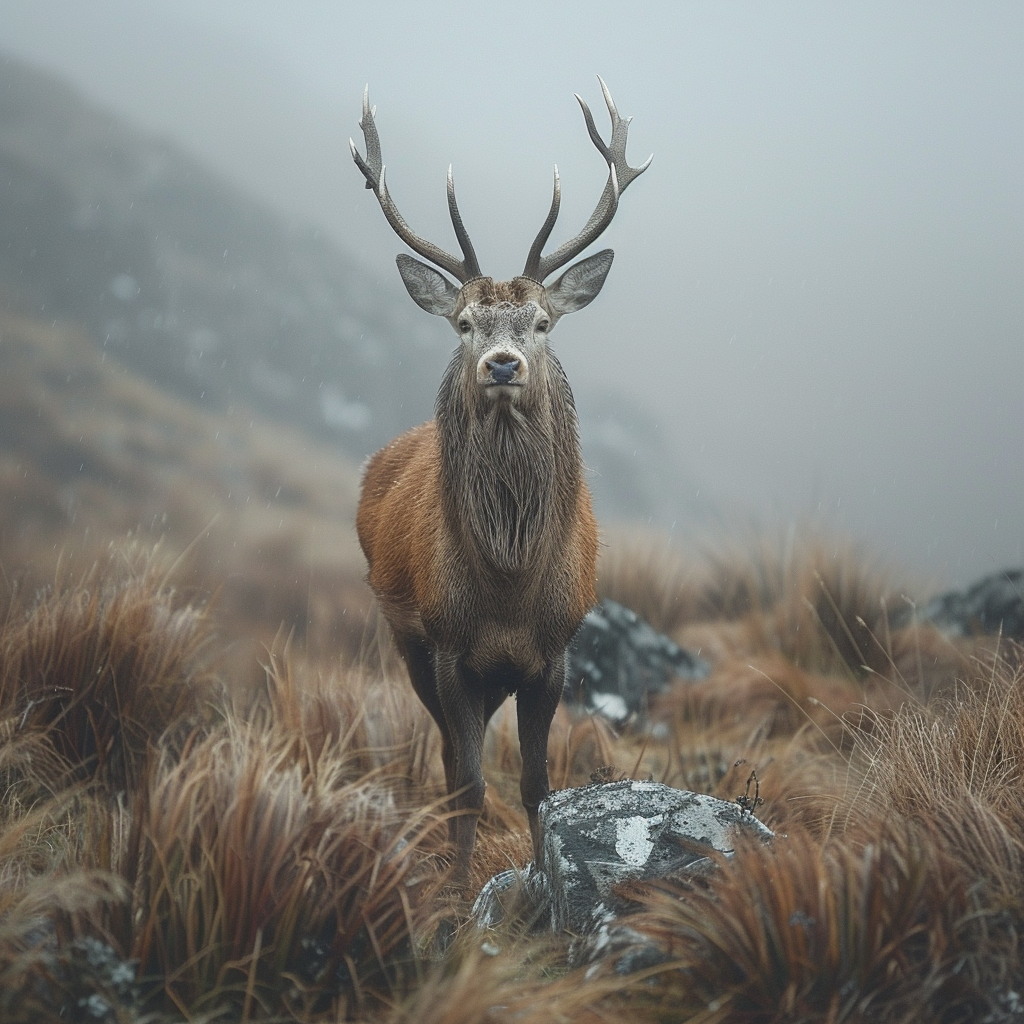
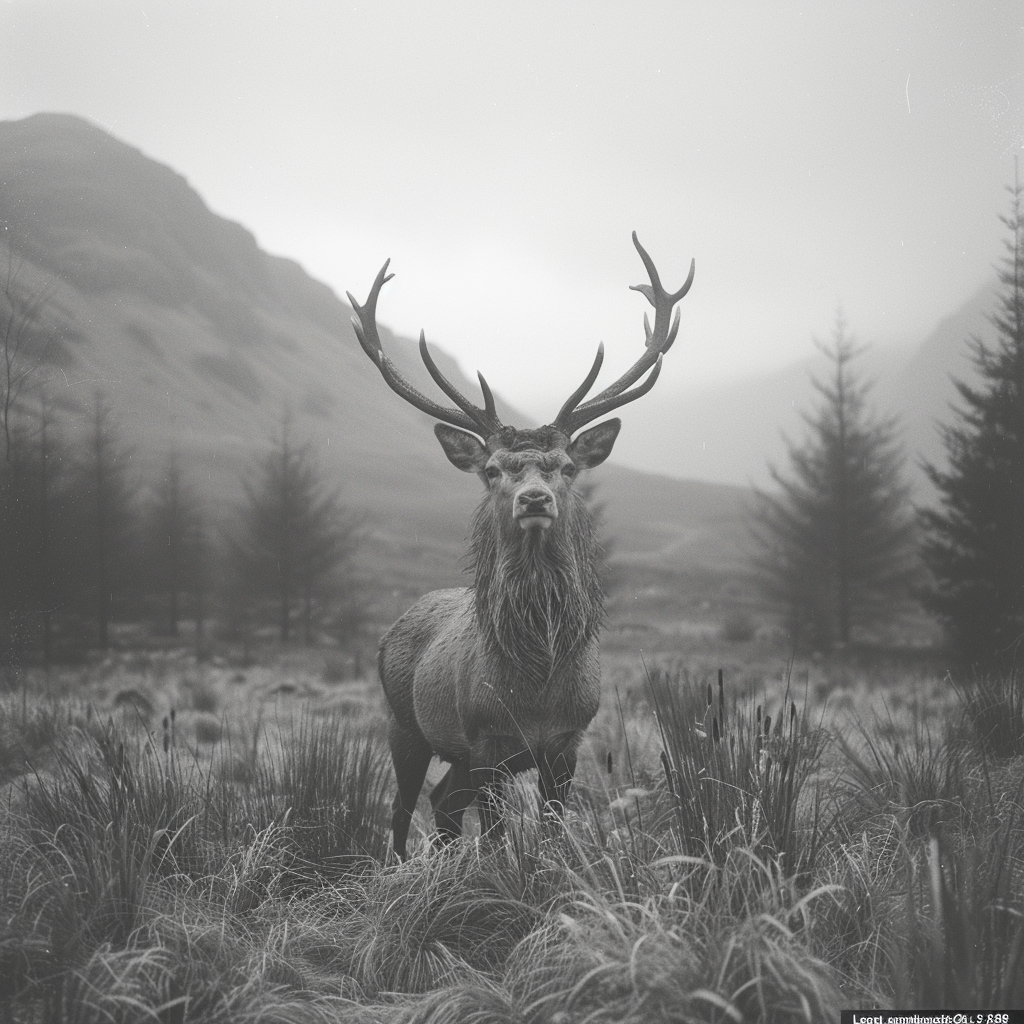
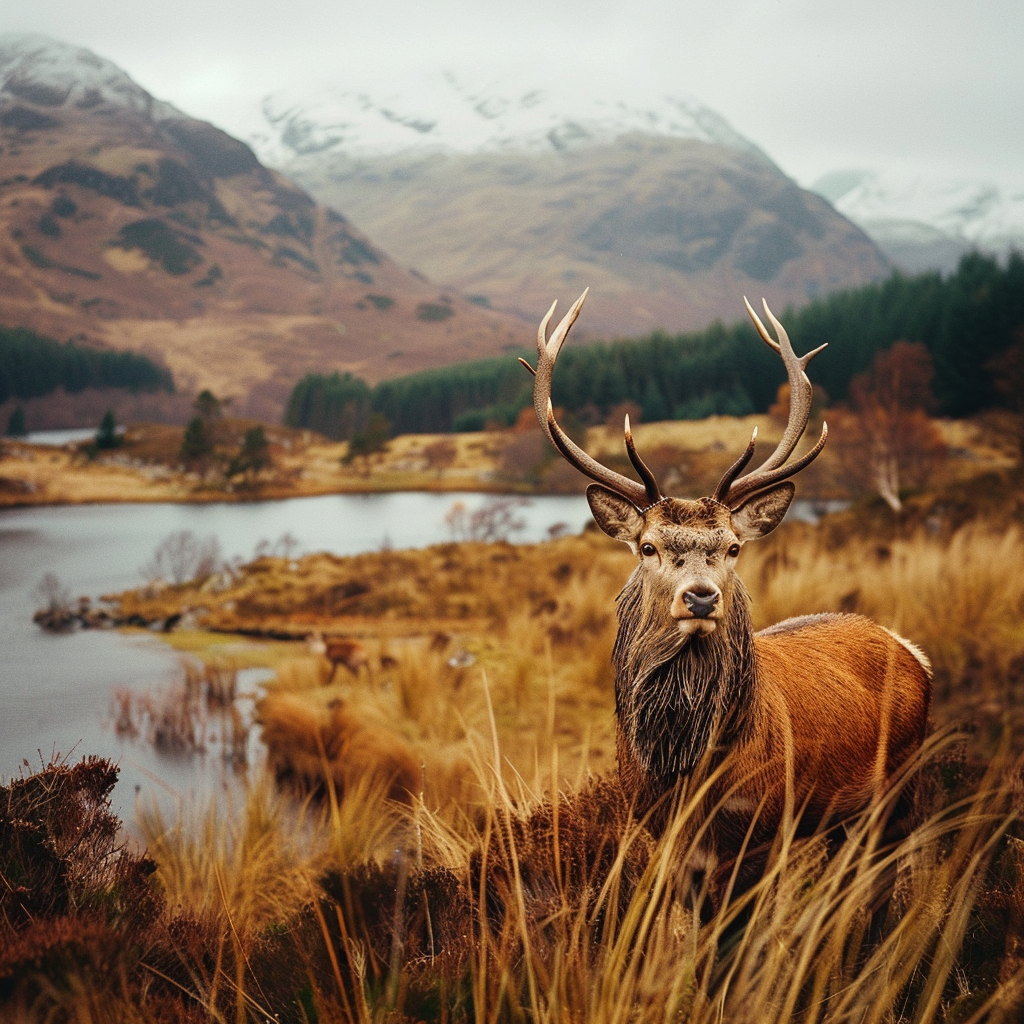
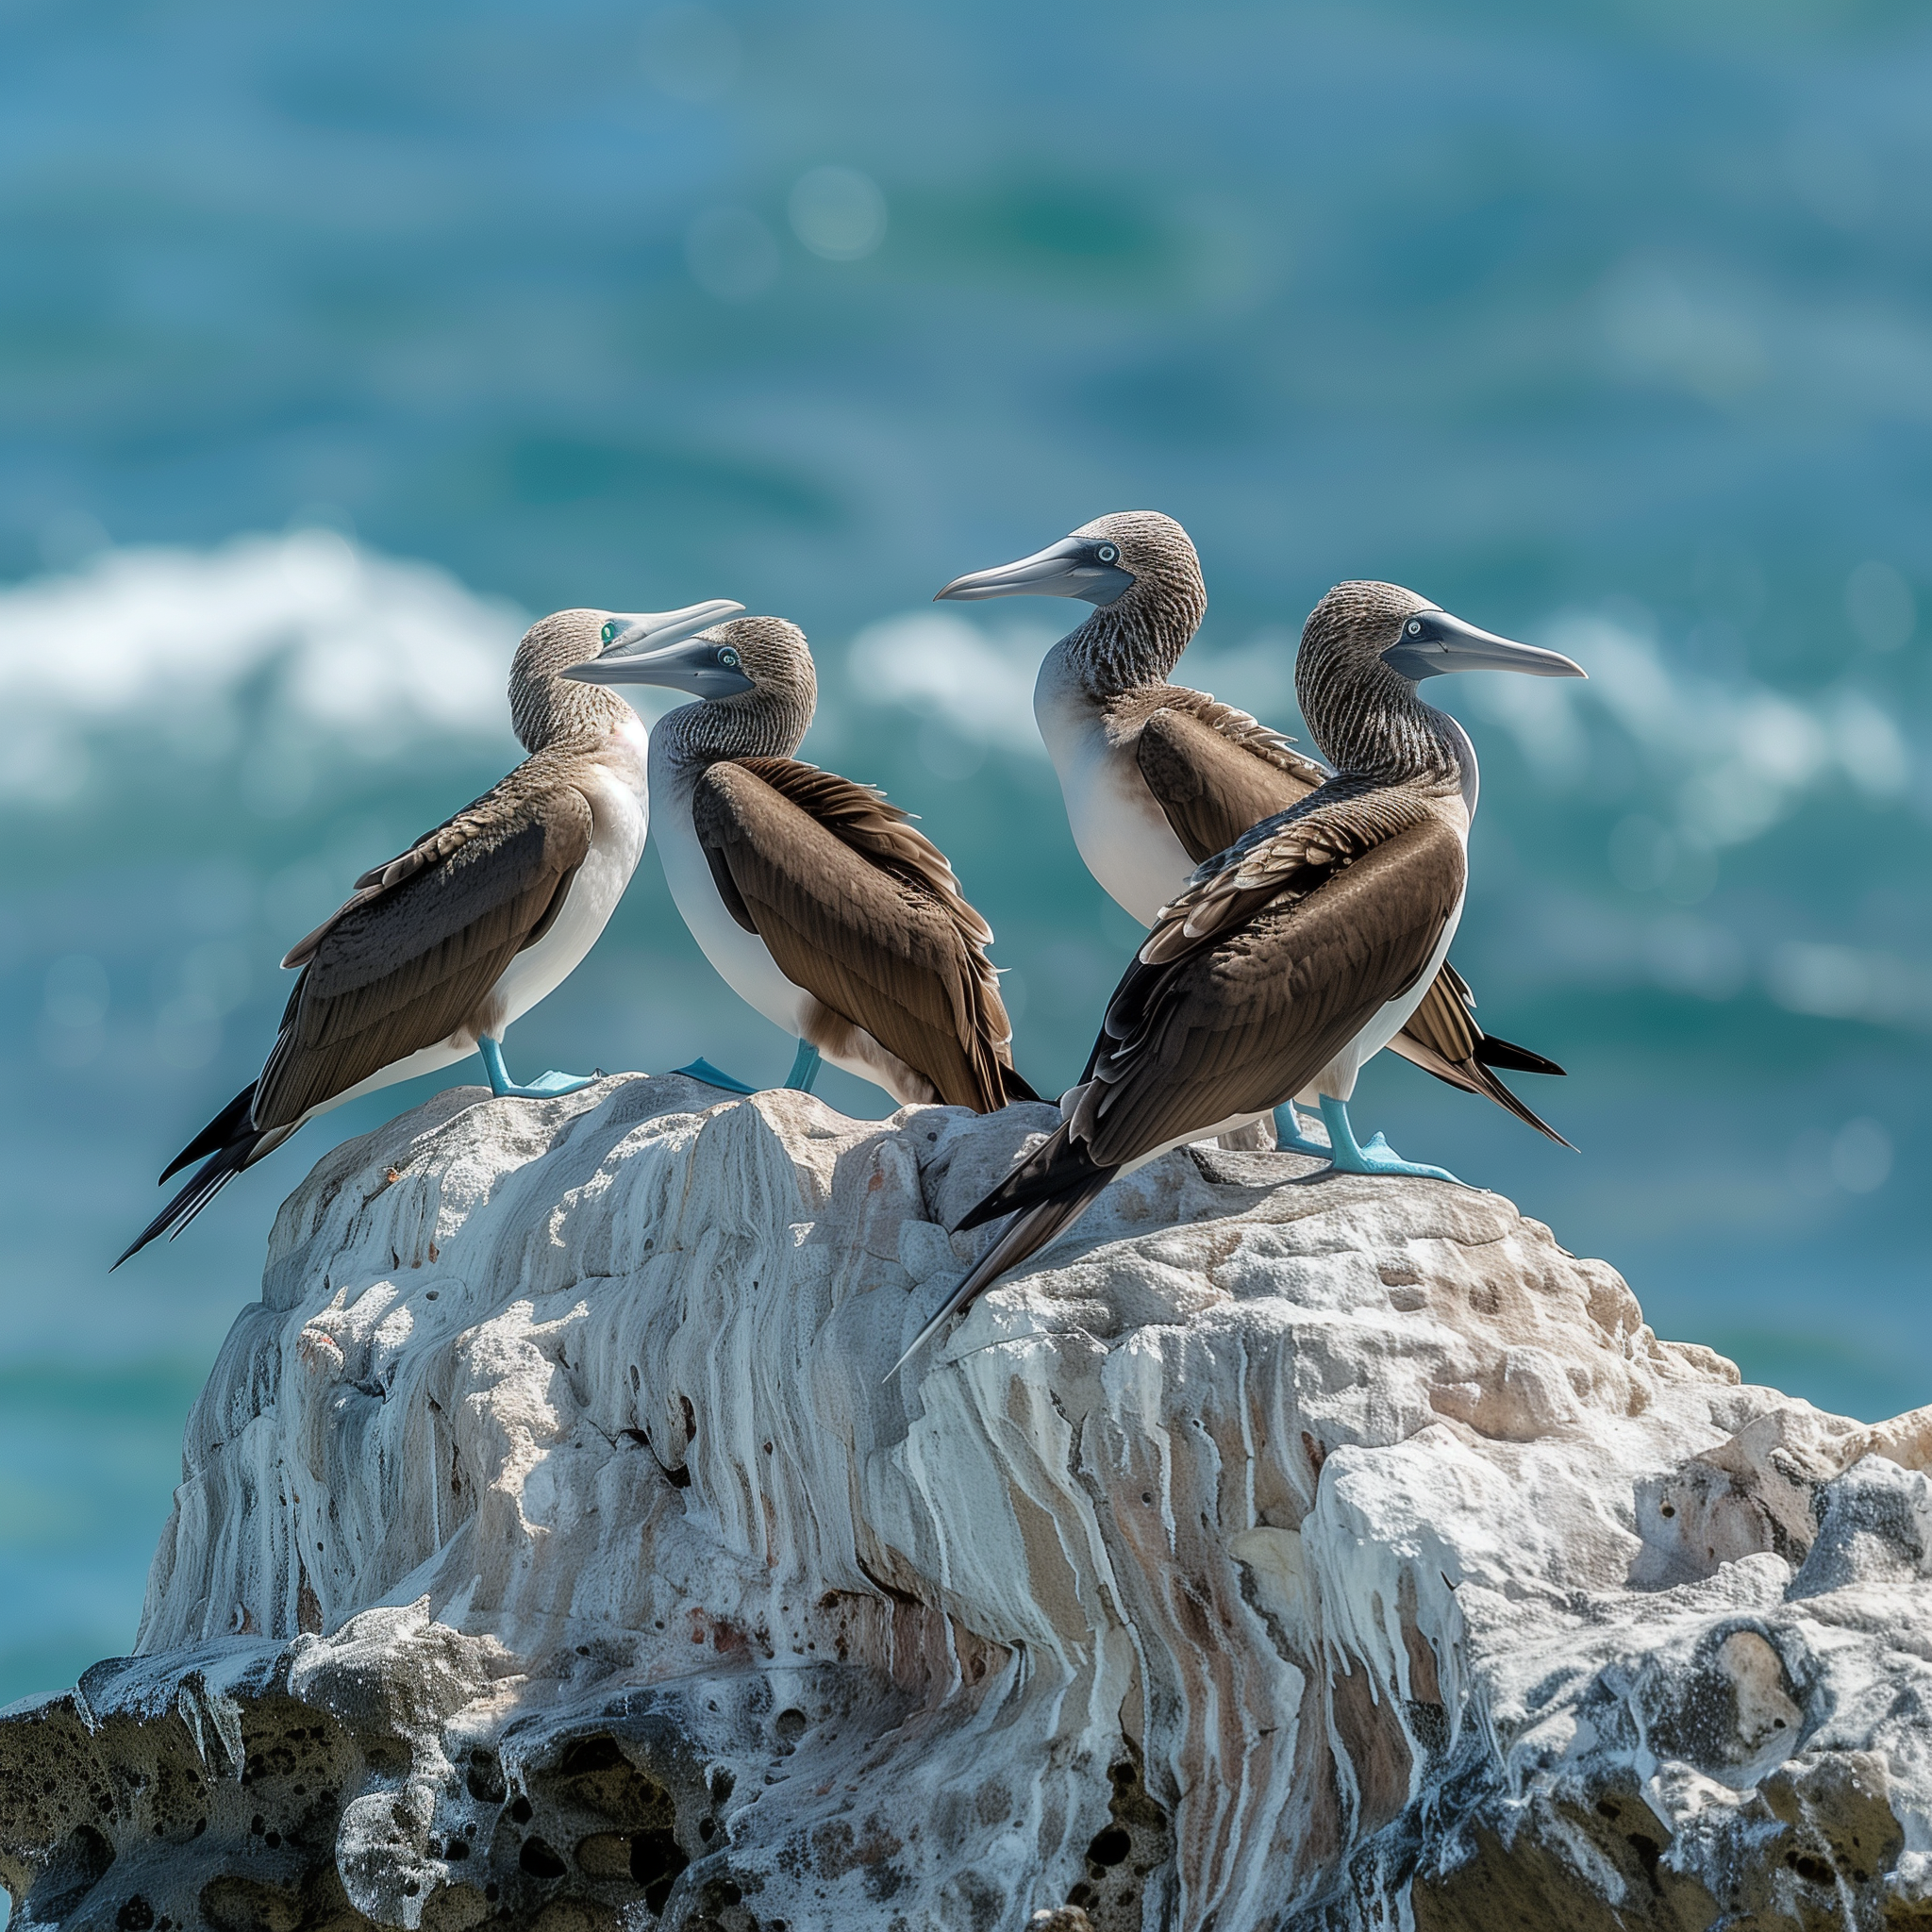
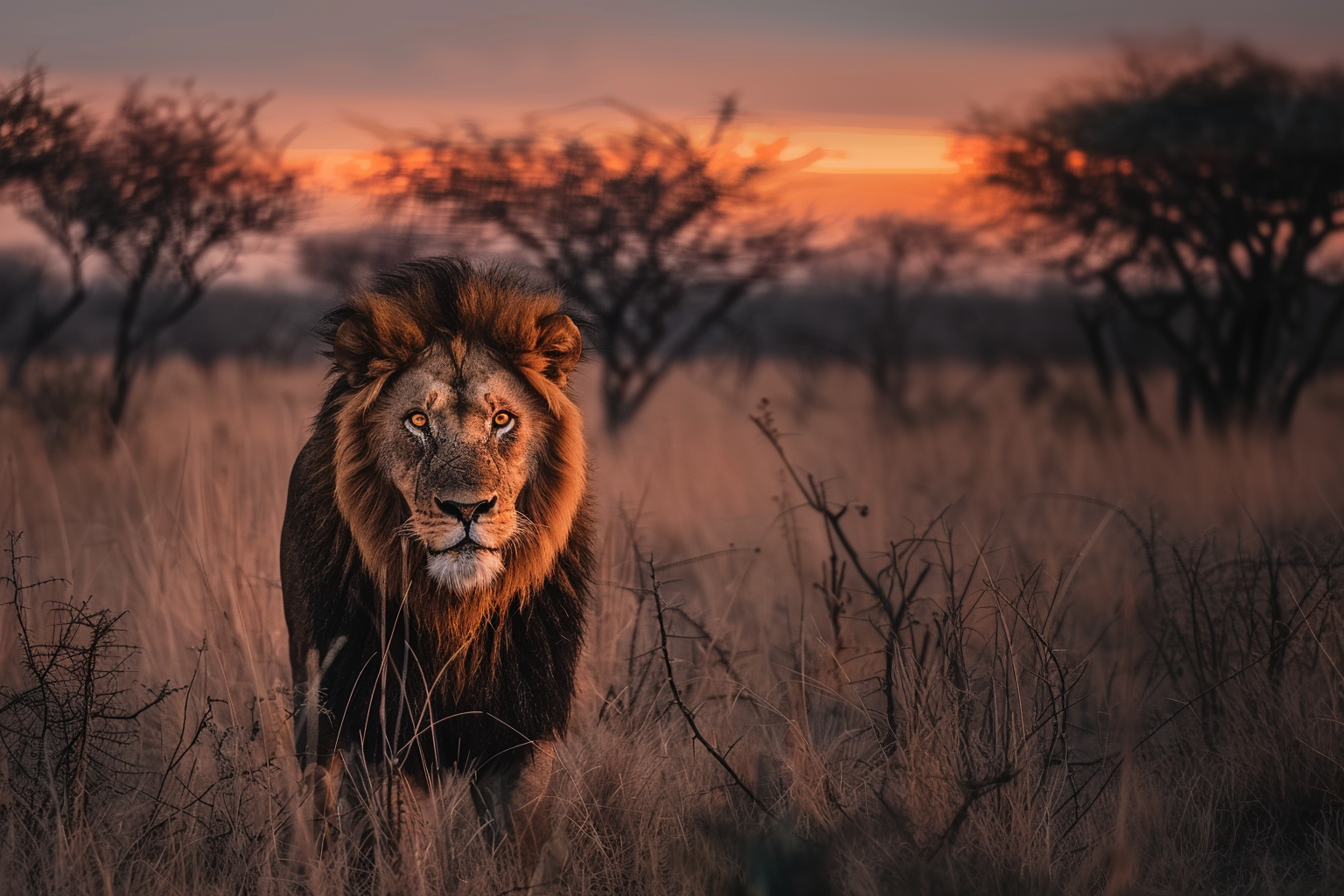
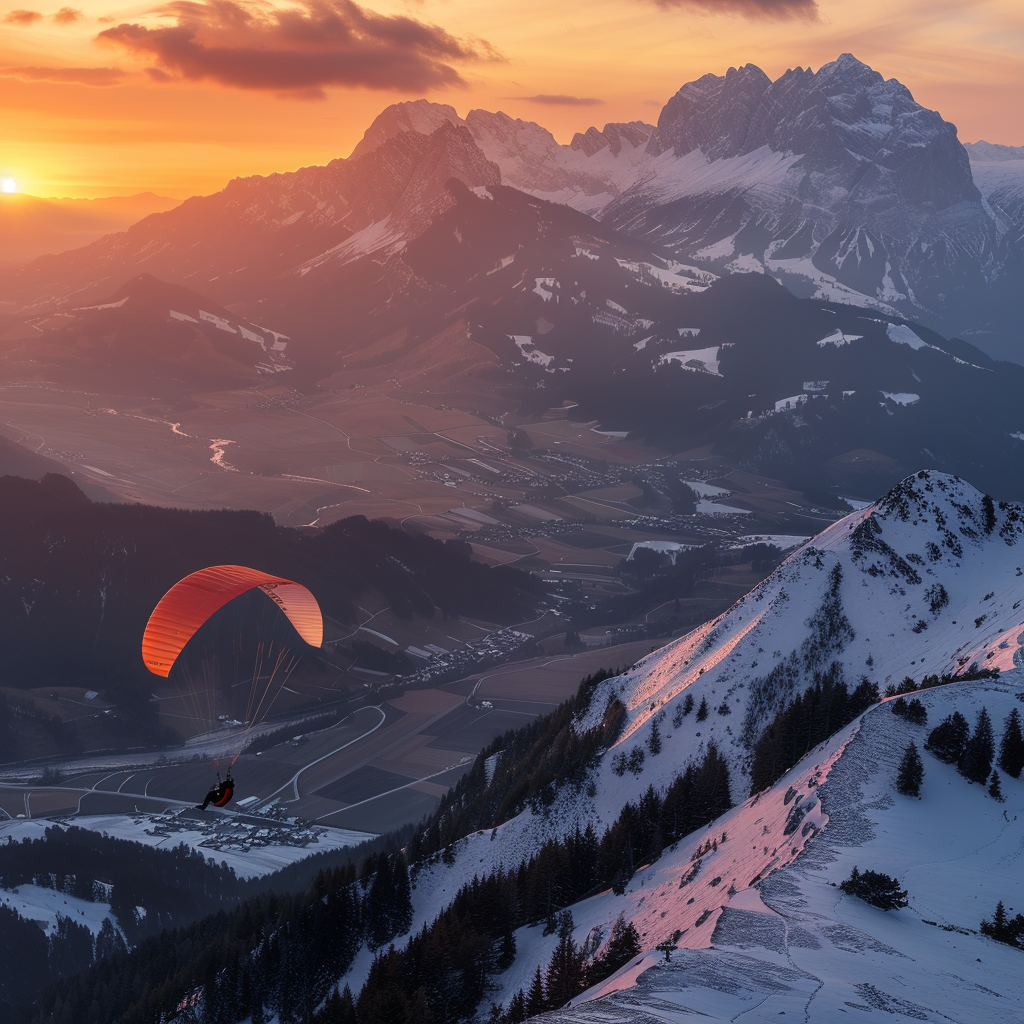
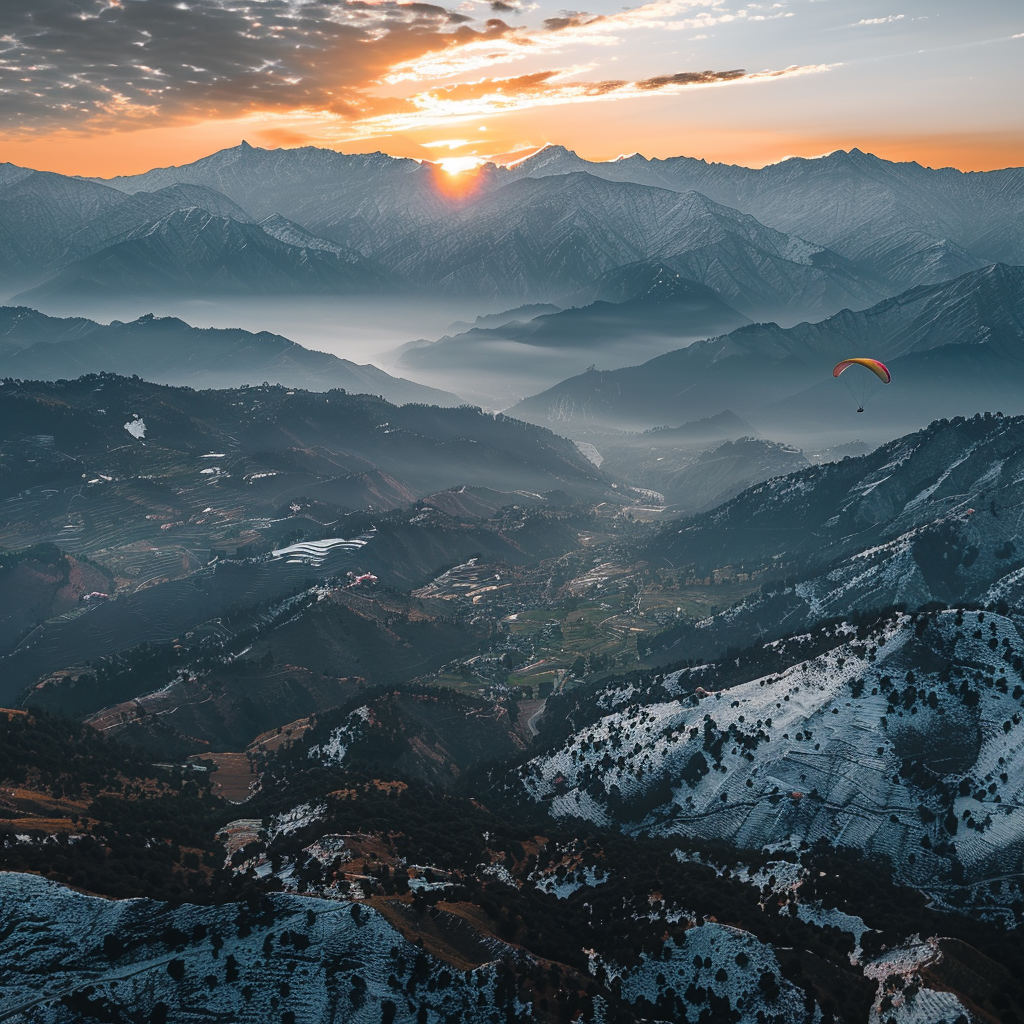
Other photos of landscapes and animals I have generated:
Portraits
For portraits, writing \prompt portrait photography and specifying the lighting are keys for success. For example use soft, natural light for flattering portraits or usesoftbox to mimic natural light. You can try toxperiment with different lighting directions: front light for clarity, side light for depth, or backlight for drama. Use a wide aperture to create a shallow depth of field, which makes the eyes stand out and choose lens that offer a flattering perspective; typically, an 85mm or 50mm lens works well for portraits. Generating portraits of women is a bit challenging since in my opinion (see below), half of them had too much nudity I did not ask for in the prompt. Men portraits looked alright unless I specifically wrote that I want them unclothed or at the beach, etc.
These are the prompts I used for the upper and lower row of photos:
Street-style portrait of a fashion model, flash photography for a high-fashion look, shot with a Fujifilm X100V, vibrant colors, urban background, candid expressionPortrait of ballet dancer in a studio, captured on aLeica M10-R, Leica APO-Summicron-M 50mm f/2 ASPH, UV Blacklight, low angle Perspective
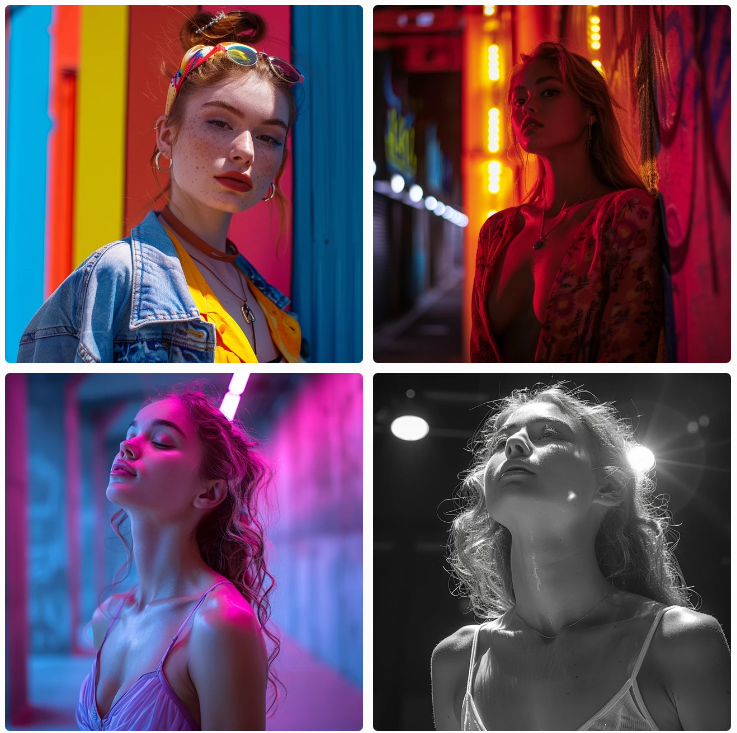 This is not the effect I was going after in either of these photos…
Midjourney knows thy products (and architects and famous furniture brands)
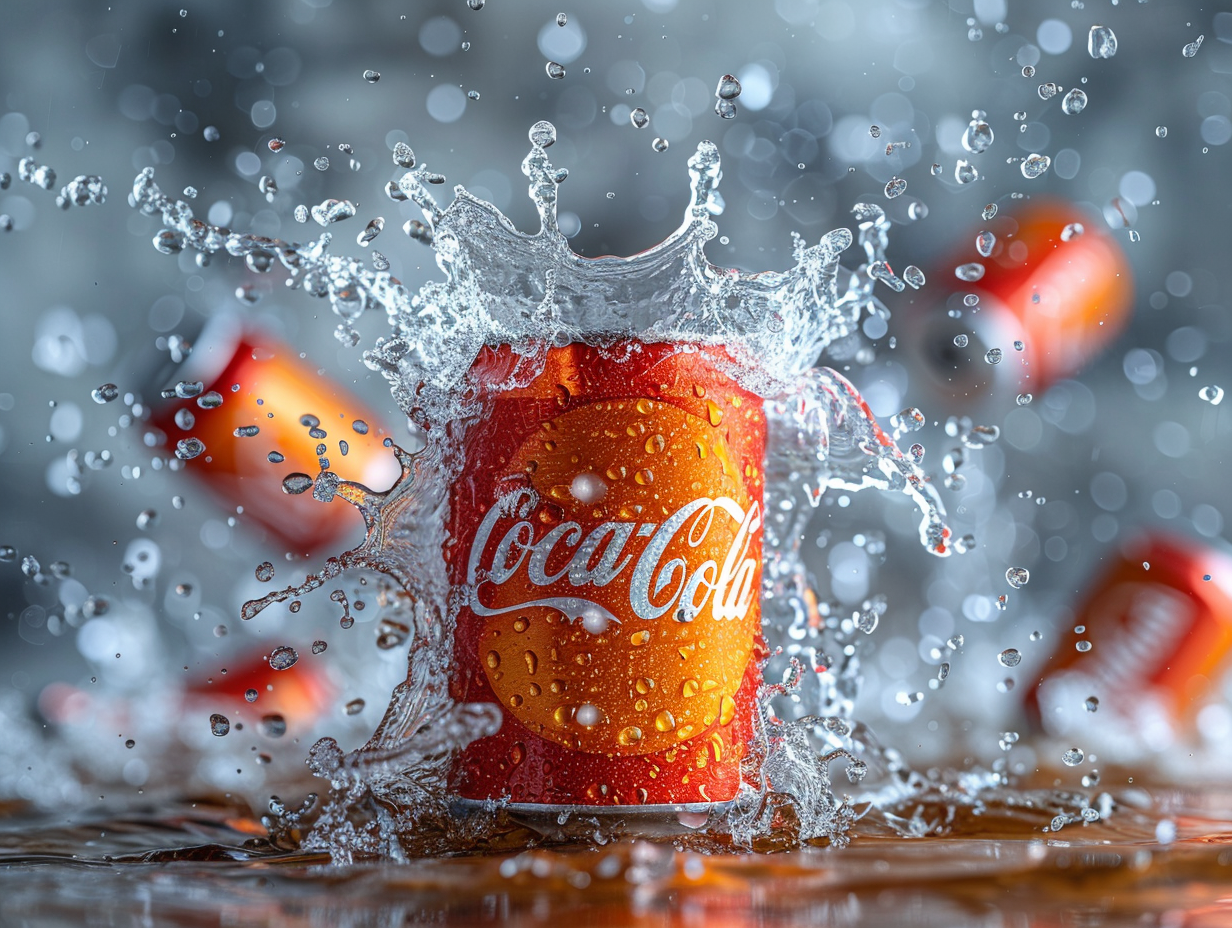
This is in my opinion the part where Midjourney excels. I was pleasantly surprised to see how perfect it can depict famous brands like Coca-Cola, Pepsi, iPhone, Samsung, Levi’s etc. Funnily enough, it is also aware of IKEA specific models and their funny Swedish names. It doesn’t always get them right, but the final generated picture looks uncannily like an IKEA furnished apartment. I also tried generating buildings in specific architectual styles (Mies van der Rohe, Eiffel, Antonio Gaudi, etc.),and again, MJ blew my mind away. This huge knowledge of database is the one of the most useful aspects of Midjourney in my opinion. Yes, the editing options that Midjourney offers, are also useful, but for tailored or custom modifications stick to the classic like Adobe Photoshop, Gimp, etc..
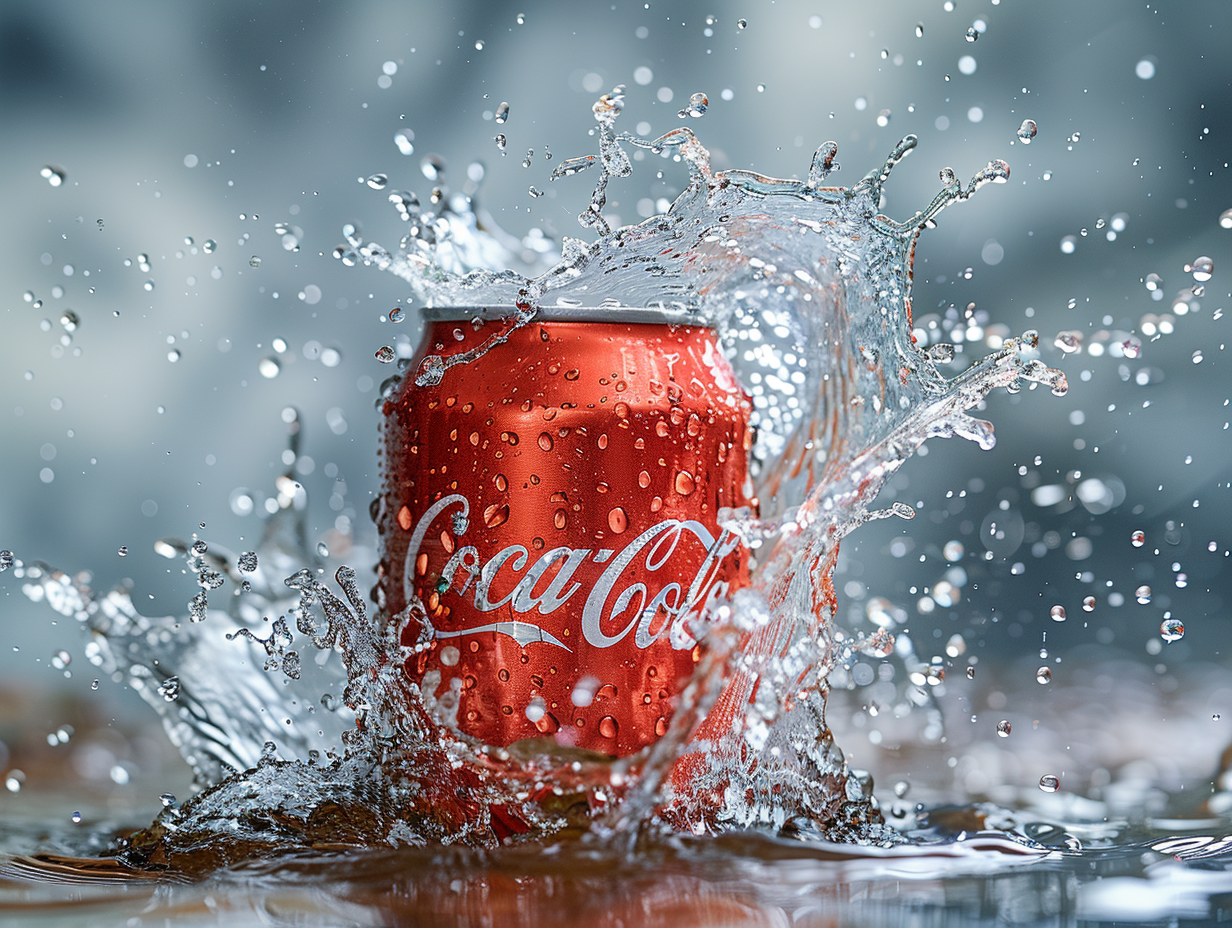 Fancy a can of Coca-Cola? I sure do after seeing this photo.
Here are some examples of prompts I used:
Product photography of a sapphire iphone 15 pro max, shiny metallic texture, studio lighting, birds eye viewCommercial product photography, powerful objects pouring in a glass, a can of coca-cola, white lighting, studio light, water splash effect, high resolution photography, insanely detailed, fine details, isolated plain, stock photo, professional color grading, award winning photographya view of a Mies van der Rohe house in a calm forest , ARRIFLEX 35 BL camera CAnon Prime Lenses, architecture photographySleek home office setup with an IKEA Bekant desk in white, a Skådis pegboard, and an ergonomic Markus chair. Low-angle shot to emphasize the spaciousness, accented with a monochromatic color scheme and a pop of color from a green plant



Text is still problematic
Somehow, it’s a hit and miss with generating text with Midjourney. I got decent results after repeating the text several times and using prompts that included the words “title, label, text, letters, written, named, etc”. and all sort of variations for text. You get the gist. However, I needed the least amount of attempts to get the text right when it was either very short or when I used the Vary Region Option.
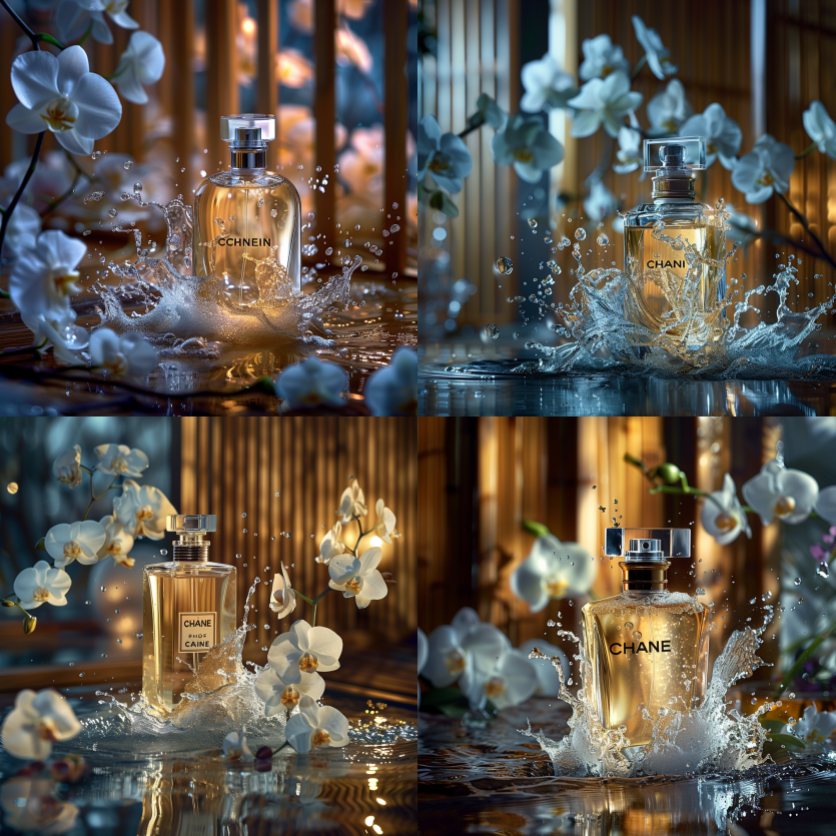 Spelling is hard for everyone, especially French words. Prompt: “Commercial product photography, a bottle of Chanel perfume,background with wooden panels and orchids”
Limitations of Midjourney
- If you have a very specific request from a client, company etc., get ready to strugle back & forth with the prompting and variations until you will probably consume all your credits.
- Midjourney still strugles with the laws of physics and counting (see the egg photos below.)
- Sometimes weird logos or brand names or watermarks will be added on photos. Remember to use negative prompting with the parameter
--noand also say a little prayer for more effect. - Text is very hard to correctly generate, especially long sentences. Stick to a few simple words, use vary region, and practise a few mindfulness exercises while waiting on your 15th attempt to be finished.
- Vary region is still quite buggy - if the region is not big enough it’s not going to change anything. If your prompt for the vary region differs too much from the original content of the photo, again nothing will be changed.
- Photos of women are uncessarily sexual or sensual (in my opinion). Every time I tried to generate a photograph of a woman she had a cleavage. Like why?
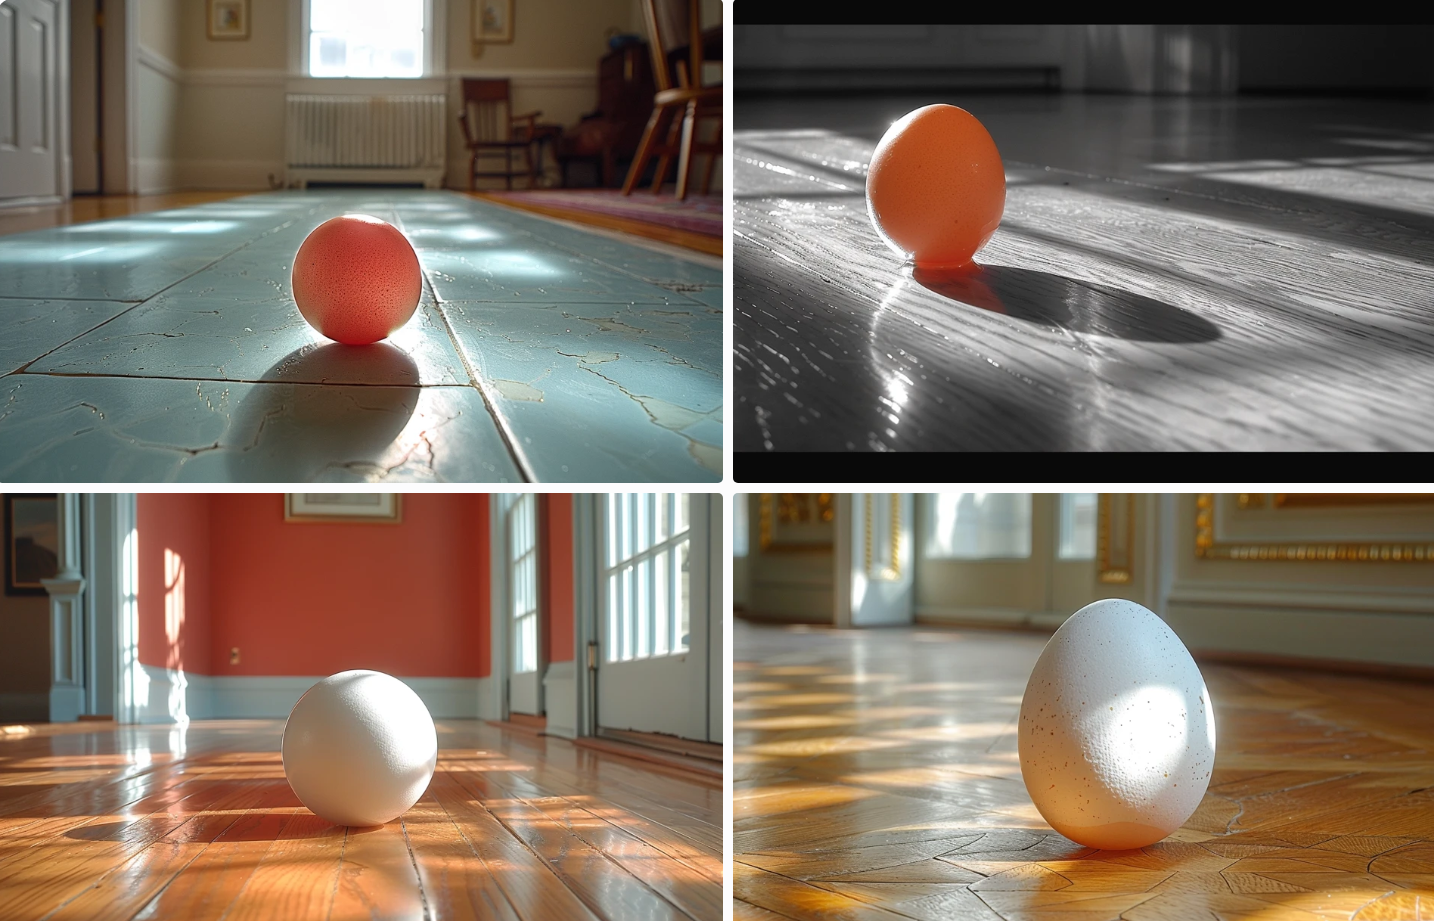 Midjourney makes very strong eggs. Prompt: “an egg dropped on the floor.”